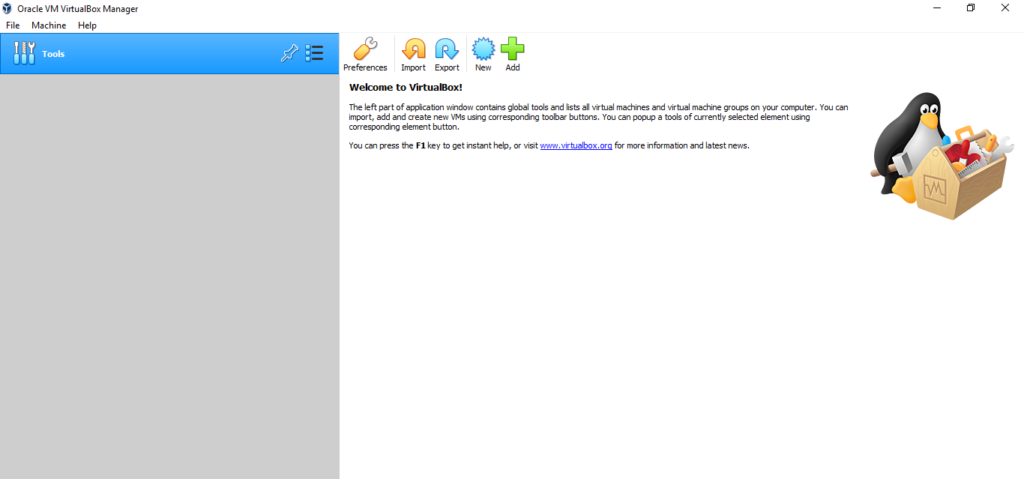
Virtual Box is a software that allows you to run virtual machines on your PC and Virtual Machines allows you to run virtual computers inside your computer without affecting the actual computer. They are used to run new operating systems or perform high security risky tasks without affecting your computer.
Oracle Virtual Box runs on Windows, Linux, Macintosh, and Solaris hosts and supports a large number of guest operating systems including but not limited to Windows (NT 4.0, 2000, XP, Server 2003, Vista, Windows 7, Windows 8, Windows 10), DOS/Windows 3.x, Linux (2.4, 2.6, 3.x and 4.x), Solaris and OpenSolaris, OS/2, and OpenBSD. (virtualbox.org)
Virtual Box Download and Setup
To download and install virtual box on your computer,
- Go to www.vitulabox.org/wiki/downloads
- Click on the executable installer file corresponding to your operating system
- Download the executable installer file
- Click the installer to run the setup wizard

5. Click the “Next” button repeatedly until the installation finishes
6. Click finish and run the virtual box application
How to Setup Your own Linux Virtual Machine
Linux is an operating system just like Windows, and Mac OS. It is one of the most popular operating system in existence with different distributions under an open source license.
In this article, Ubuntu distribution of Linux will be installed. You can download the distribution here. After downloading Ubuntu,
- Launch the virtual box application

2. Click on New

3. Assign a name to the virtual machine (Ubuntu in this case)
4. Click the dropdown arrow in the “Type” section and select Linux
5. Under version, select Ubuntu (64-bit) or Ubuntu (32-bit) depending on your operating system architecture
6. Click Next
7. Specify the amount of memory or RAM to be allocated to the virtual machine and click Next (Preferably, you should drag the slider to the midpoint of the green area to prevent the computer from running slow)

8. Select an imaginary hard drive space creation method for the machine and click on the “Create” button

10. Under the hard disk type dialog box, Select the VDI (VirtualBox Disk Image) type and click on Next

11. Under Physical hard drive allocation type, select Dynamically Allocated. This means that the hard disk size will get bigger as the content gets bigger

11. Specify the File location and overall storage size of the machine and click “Create”

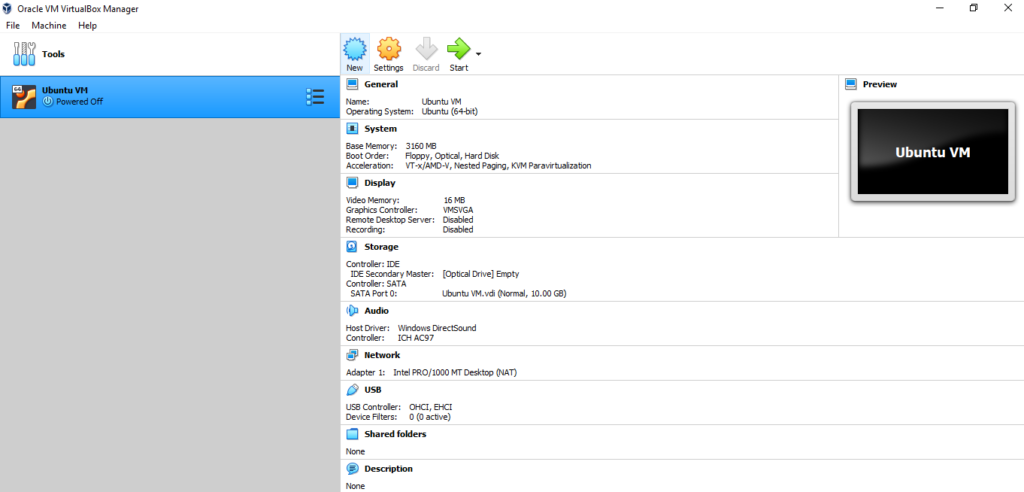
12. The virtual machine will be created and shown in the virtual box as below

How to Load Ubuntu Disk Image into the virtual machine
1. Click on Settings and then System in the dialog box displayed. Click on the processor tab and increase the cores to 2cores

2. Click on Storage then under the Controller: IDE section, click on the “empty” disk button. In the attribute section, click on the disk icon beside the Optical Drives dropdown option then click on Choose a disk file option

3. Navigate to the downloaded Ubuntu file, click on the file and then click on “Open” to load the disk image to the virtual machine

4. Click OK
Launching Linux for the First Time
- Click on the start button to power on the virtual machine

2. The Ubuntu setup process will begin in the newly created virtual machine window

3. Select your preferred language and Click on Install Ubuntu to install Ubuntu on the virtual machine

4. Select your keyboard layout and click on continue

5. Select your installation preferences then click on continue

6. Under Installation type, select “Erase disk and Install Ubuntu” then click Install Now button

7. In the confirmation dialog box displayed, click continue. Then, select your preferred time zone and click continue


8. Insert your preferred computer name, username and password

9. Wait for the operating system to install into the virtual machine and restart the machine


10. At restart, press ENTER on the keyboard to boot up the virtual machine without having to boot from the disk image. Enter your password and login to the virtual machine.
You have now successfully installed Ubuntu into the virtual machine

